
Access control installation does not end when the reader is fixed to the wall. The proper sequence is a survey of every door, the right lock for each one, cabling, controller and reader installation, enrolment of users and permissions, a test that doors release on fire alarm and power loss, and finally handover with documents. This article walks through each stage in order, with what the consultant or owner should check before accepting the system.
Key takeaways
- The survey records door type, frame and swing, and whether the door is on an escape route or is a fire door.
- The lock is chosen by door type and emergency scenario: should it open or stay locked when power fails?
- Electrically locked doors on escape routes have code conditions, the most important being release when the fire alarm operates.
- Commissioning covers enrolment of cards, fingerprints and faces, permissions and schedules, and a test of every door.
- Handover includes as-built drawings, the door schedule, a backup of the system settings and the test results.
In this article
- Stage 1: technical survey of every door
- Stage 2: choosing the lock for the door and the emergency scenario
- Stage 3: containment and cabling
- Stage 4: installing the controller and readers
- Stage 5: programming and commissioning
- Stage 6: testing door release on fire alarm
- Stage 7: handover and documents
- What affects access control installation time and cost?
- Frequently asked questions
- Conclusion
Stage 1: technical survey of every door
Before anything is supplied, prepare a door schedule listing for each door: its material (timber, steel, glass, aluminium), the frame, swing direction, single or double leaf, whether it is on an escape route, and whether it is fire-rated. These details decide the lock, the reader and exit button positions and the cable route.
Fire doors need particular care. Drilling or modifying a certified fire door can affect its certification, so the lock position and fixing method are agreed with the door supplier and its instructions before work starts. Our technical site inspection and assessment service can prepare this schedule before pricing.
Stage 2: choosing the lock for the door and the emergency scenario
| Lock type | Suits | Behaviour on power loss |
|---|---|---|
| Magnetic lock (maglock) | Glass, steel and timber doors with a suitable frame | Usually releases (fail safe), because it needs power to stay locked |
| Electric strike | Doors with a mechanical lockset | Available in both versions: releases or stays locked, depending on model |
| Electric bolt | Glass doors without a strong top frame | Depends on model |
The choice is not purely technical. A door on an escape route must allow exit in an emergency, while a server room or high-value store may need to stay locked from outside on power loss, with mechanical free exit from inside. This is settled with the consultant and Civil Defense requirements before ordering.
Stage 3: containment and cabling
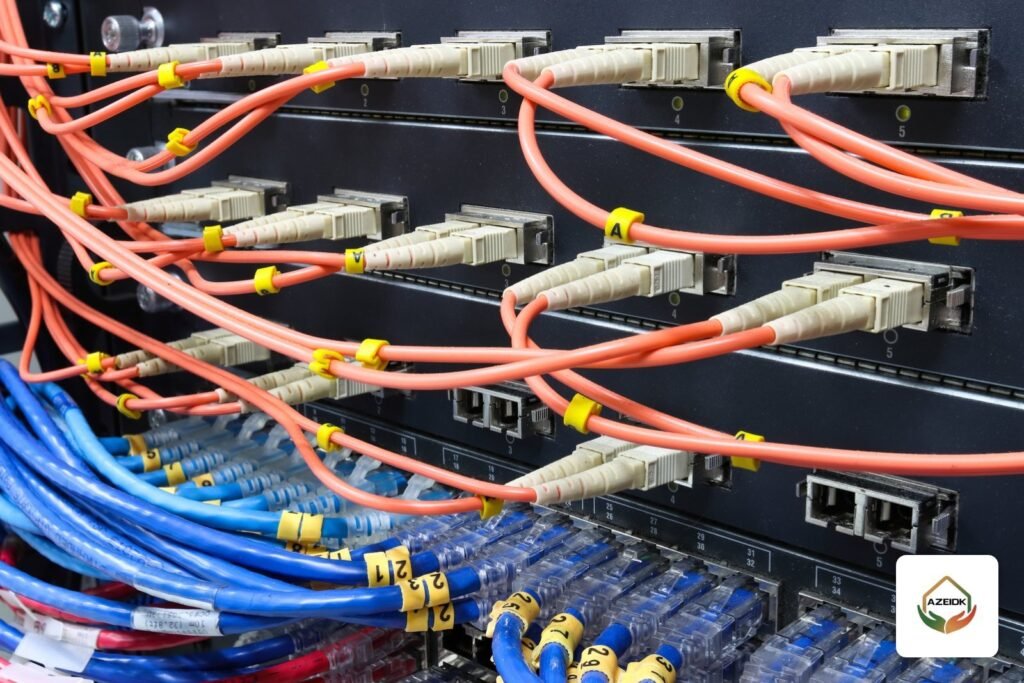
Each door usually has four devices wired back to the controller: the reader, the lock, the exit button and a door position contact. Add the controller’s network cable and the lock power supply. Points to check:
- Reader cable to suit the interface (Wiegand or RS485) and the distance given by the reader manufacturer.
- Lock cable size to suit lock current and run length, so voltage at the door does not drop.
- Cables run in conduit or trunking, never exposed on the outside of the door.
- A suitable lock power supply with battery backup that matches the approved emergency scenario.
Stage 4: installing the controller and readers
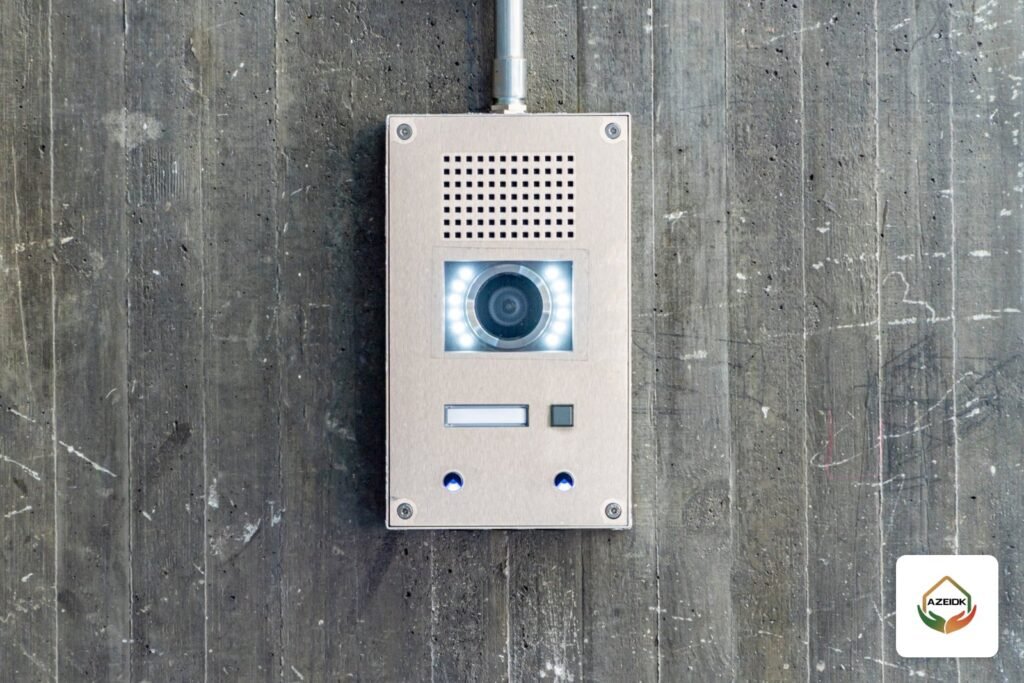
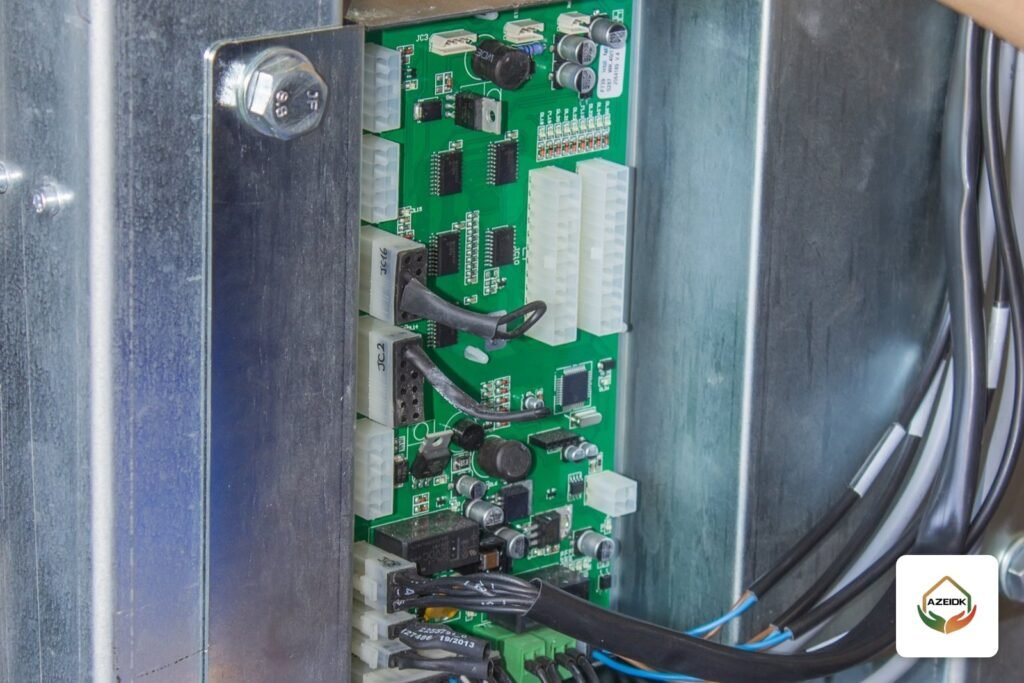
The controller is installed on the secure side of the door, inside an enclosure or cabinet, never next to the outside reader. An example of a single-door unit is the Hikvision DS-K2801 controller. Its page lists one lock relay output, two Wiegand ports for an entry and an exit reader, an exit button input, a door contact input, one alarm input, TCP/IP networking and a DC 12V supply. For the DS-K2800 series the page states 10,000 cards and 50,000 records.
Buildings with many doors use networked multi-door panels, such as ZKTeco InBio and C3 panels, managed from central software. Doors per panel follow the door schedule and how doors are spread across floors. Terminal wiring details are in the product pages and the manufacturer’s installation manual.
Stage 5: programming and commissioning
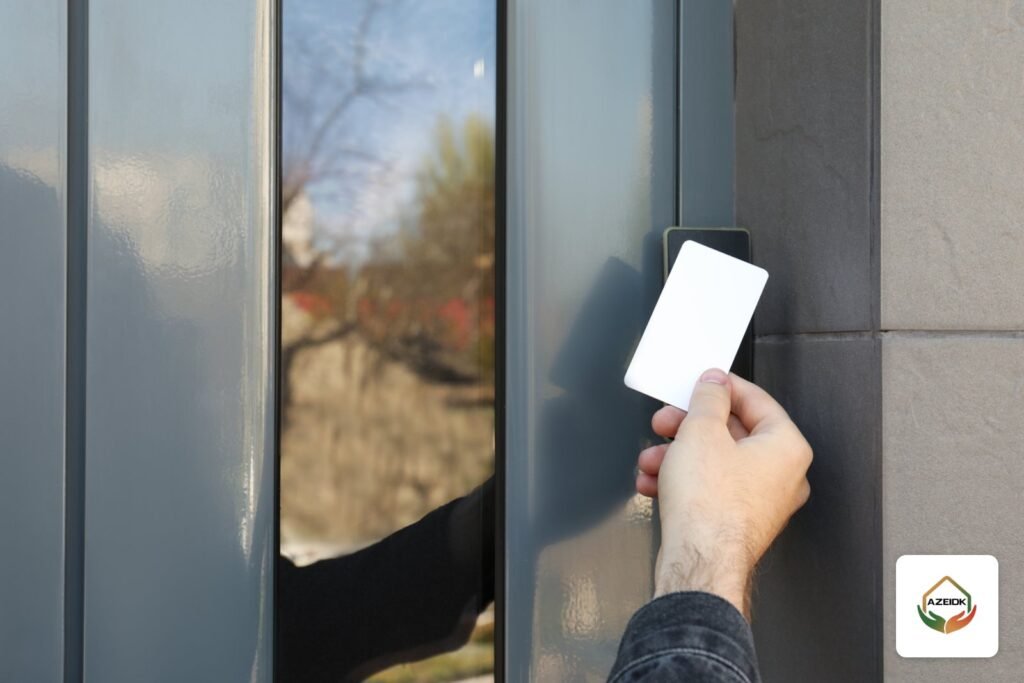
After installation, programming starts in the management software: adding controllers and doors, enrolling cards, fingerprints or faces, creating access groups (for example management, staff, visitors, maintenance), time schedules for each group, door unlock time, and alarms for doors held open or forced.
When controllers sit on the building network, they go into their own VLAN, default passwords are changed and firmware is updated from the manufacturer’s source. This is part of our installation and implementation work, followed by commissioning.
Stage 6: testing door release on fire alarm
This is the most important test because it concerns life safety. The international codes the Saudi Building Code builds on set conditions for electrically locked egress doors under the heading “sensor release”. The Minnesota State Fire Marshal summary presents them as written in Section 1010.1.9.9 of the state’s 2020 code, including:
- A sensor on the egress side that unlocks the door as a person approaches.
- A manual release button on the egress side near the door, marked “PUSH TO EXIT”, that cuts power to the lock directly.
- Doors unlock when the fire alarm or sprinkler system operates, where provided, and stay unlocked until the system is reset.
- The lock releases on loss of power to the sensor, the lock or the access control system.
- Access control system units listed to UL 294.
The clause number, distances and times are checked in the SBC 201 edition that applies to the building permit and with the consultant. On site, every escape route door is tested: trigger an alarm from the fire alarm panel and confirm the lock releases, reset, cut power and confirm release, then test the exit button. The result for each door is recorded on the test sheet.
Stage 7: handover and documents
- As-built drawings with controller and door positions and cable routes.
- The final door schedule: lock type, emergency behaviour and controller number.
- A backup of the software settings, user list and permissions.
- Test results for every door, including release on fire alarm and on power loss.
- Datasheets and operating manuals for each device, and a walkthrough of the software for the system administrator at handover.
These documents are delivered under our testing, commissioning and handover service and make any later extension or change easier for the owner.
What affects access control installation time and cost?
A fixed price is not possible before the survey, but the factors that drive time and cost are well known:
- The number of doors and the type of each one; glass doors and fire doors need particular locks and fixings.
- The credential type: card, fingerprint, face, or more than one method on the same door.
- Containment readiness: conduits installed during construction, or surface containment in an existing building.
- The number of escape route doors that need a fire alarm interface and documented testing.
- Standalone units per door, or networked panels with central software and a time attendance link.
When these points are clear in the door schedule, quotations become comparable and unexpected additions during installation are avoided.
Frequently asked questions
How long does access control installation take?
It depends on the number of doors, how ready the containment is and the door types. One door is far simpler than a building with dozens of doors and network panels, so the duration is set after the survey.
Can a fingerprint reader be installed on a fire door?
The reader can be mounted beside the door. The lock and any change to the door itself are agreed with the fire door supplier and its instructions so the certification is not affected.
Do doors unlock automatically when the fire alarm operates?
Where the building has a fire alarm system, the code conditions require electrically locked escape route doors to release when the alarm operates. This is done by linking the fire alarm panel to the controllers or the lock power supply, then testing every door.
What is the difference between fail safe and fail secure?
Fail safe releases on power loss; fail secure stays locked from outside. The choice follows the door location and evacuation requirements.
How do I test an access control system before accepting it?
Test every door: entry with a valid credential and refusal with an invalid one, the exit button, the door-held-open alarm, release on fire alarm and on power loss, then review the event logs in the software.
Does the system keep working if the network goes down?
Most controllers store permissions locally and verify users without the server, then upload logs when the network returns. Confirm this in the datasheet of the model supplied.
Conclusion
Access control installation is staged work: survey, the right lock for each door, cabling, installation and programming, then emergency testing and handover. One of the key checks at handover is that escape route doors release on alarm and on power loss, so plan that test from day one. For pedestrian and vehicle entrances, see our guide to access gates and turnstiles.
Preparing to install access control in a building or office? Send the number and types of doors with the drawings, and our team will prepare the door schedule and scope with you. Talk to the AZEIDK team
Related guides
- Car Showroom Security and Fire Protection in Saudi Arabia
- Fire Pump Flow Testing to NFPA 25 with a GVI Test Meter in Saudi Arabia
- Fire Alarm Supplier in KSA: Distributor vs Supplier vs Contractor and How to Verify Authorization
- Fire Pump Types: Electric, Diesel and Jockey, End-Suction, Split-Case and Vertical Turbine, and NFPA 20 Basics